Creating a .NET MAUI app that selects and reads a file from disk, compatible with iOS, Android, Windows, macOS, and Linux, involves using a few key components of the MAUI framework like configuring permissions and using the FilePicker API.
1. Setup the MAUI Project
First, you need to set up a new MAUI project if you haven’t done so already. You can do this using the .NET CLI:
dotnet new maui -n MyPdfReaderThis command creates a new MAUI project with a default configuration for all supported platforms.
2. Configure Permissions
Since your app will be accessing the file system, you need to make sure that you have the appropriate permissions set up for each platform:
- ✅ Android: Edit the
AndroidManifest.xmlto include the necessary permissions. - ✅ iOS: Edit the
Info.plistto request permissions. - ✅ Windows, macOS, Linux: Typically, desktop applications will have access, but you might want to handle exceptions or user-denied permissions.
Android Permissions
For Android, you need to request permission to access external storage if you plan to read files from locations other than the app’s private storage. Edit the AndroidManifest.xml file located in the Platforms\Android directory:
<uses-permission android:name="android.permission.READ_EXTERNAL_STORAGE" />
This permission prompts the user to allow the app to read from the device’s external storage.
iOS Permissions
iOS requires a description of why the app needs access to certain features like the photo library or external documents. Edit the Info.plist file located in the Platforms\iOS directory:
<key>NSDocumentPickerUsageDescription</key>
<string>Access is needed to read PDF files.</string>
This configuration ensures that when your app attempts to access the document picker, iOS knows to display a prompt to the user with this explanation.
3. Use FilePicker API
.NET MAUI provides a FilePicker API that is part of Microsoft.Maui.Storage, which you can use to open a file picker dialog that works across all platforms:
public async Task ReadFileAsync()
{
    try
    {
        var filePickerTypes = new FilePickerFileType(
            new Dictionary<DevicePlatform, IEnumerable<string>>
            {
                { DevicePlatform.iOS, [ "public.text" ] },
                { DevicePlatform.Android, [ "text/plain" ] },
                { DevicePlatform.WinUI, [ ".txt" ] },
                { DevicePlatform.MacCatalyst, [ "txt" ] },
                { DevicePlatform.Tizen, new[] [ "*/*" ] }
            });

        var options = new PickOptions
        {
            PickerTitle = "Please select a text file",
            FileTypes = filePickerTypes,
        };

        var result = await FilePicker.Default.PickAsync(options);

        if (result != null)
        {
            var fileContents = await File.ReadAllTextAsync(result.FullPath);
            Console.WriteLine("File contents: " + fileContents);
        }
    }
    catch (Exception ex)
    {
        Console.WriteLine("Error accessing file: " + ex.Message);
    }
}
Reading PDF Files
To handle PDF files specifically, you’ll need to update the FilePickerFileType configuration to recognize PDF file types across different platforms:
var filePickerTypes = new FilePickerFileType(
    new Dictionary<DevicePlatform, IEnumerable<string>>
    {
        { DevicePlatform.iOS, [ "com.adobe.pdf" ] },
        { DevicePlatform.Android, [ "application/pdf" ] },
        { DevicePlatform.WinUI, [ ".pdf" ] },
        { DevicePlatform.MacCatalyst, [ "pdf" ] }
    });
The example given above reads text files, and PDFs are not plain text. To actually read or manipulate PDFs, you might need to use a library like PdfSharp or PdfPig in .NET:
dotnet add package PdfPigusing UglyToad.PdfPig;
using var document = PdfDocument.Open(result.FullPath);
foreach (var page in document.GetPages())
{
var text = page.Text;
Console.WriteLine("PDF page text: " + text);
}4. Add UI for File Selection
In your MainPage.xaml, add a button or similar UI element to trigger the file selection:
<VerticalStackLayout>
    ..
    <Button Text="Select File"
            Clicked="OnSelectFileClicked" />
    <Label x:Name="fileContentLabel" />
    ..
</VerticalStackLayout>
5. Handle Button Click
In your MainPage.xaml.cs, handle the button click to invoke the file picker:
public partial class MainPage : ContentPage
{
    public MainPage()
    {
        InitializeComponent();
    }

    private async void OnSelectFileClicked(object sender, EventArgs e)
    {
        await ReadFileAsync();
    }
}
6. Run and Test Your App
Run your app on various platforms using the .NET CLI or Visual Studio. Check to ensure that the file picker works as expected and that the file reading functionality is properly managed.
dotnet build
dotnet run
Make sure to handle exceptions and errors gracefully, particularly around file access permissions and unavailable file types across different platforms.
7. Add Events Tracking
To add analytics to your .NET MAUI application, you can use the Aptabase.Maui NuGet package. This package provides a simple way to integrate event tracking in MAUI applications.
Setting Up Aptabase
First, you need to get your App Key from Aptabase, you can find it in the Instructions menu on the left side menu.
Add the Aptabase.Maui package to your project. You can do this via the NuGet Package Manager or by running the following command in your project directory:
dotnet add package Aptabase.MauiAfter installing the package, you need to initialize Aptabase in your application. Update MauiProgram.cs:
using Aptabase.Maui;

public static MauiApp CreateMauiApp()
{
    var builder = MauiApp.CreateBuilder();
    builder
        .UseMauiApp<App>()
        .UseAptabase("<YOUR_APP_KEY>", new AptabaseOptions // 👈 this is where you enter your App Key
        {
#if DEBUG
            IsDebugMode = true,
#else
            IsDebugMode = false,
#endif
        })
    ...


    builder.Services.AddSingleton<MainPage>(); // 👈 you need to add MainPage to the DI container

    return builder.Build();
}
The UseAptabase() method will add the IAptabaseClient to your dependency injection container, allowing you to use it in your pages and view models.
Implementing Event Tracking
Now integrate event tracking within the file picker logic to count the number of pages in each PDF file selected by the user:
using UglyToad.PdfPig;
using Aptabase.Maui;

public partial class MainPage : ContentPage
{
    IAptabaseClient _aptabase;

    public MainPage(IAptabaseClient aptabase)
    {
        InitializeComponent();
        _aptabase = aptabase;
    }

    public async Task ReadFileAsync(IAptabaseService aptabaseService)
    {
        ..

        if (result != null)
        {
            using var document = PdfDocument.Open(result.FullPath);

            // Track the event
            _aptabase.TrackEvent("PDF Upload",
                new Dictionary<string, object> { { "PageCount", document.NumberOfPages } });
        }
    }
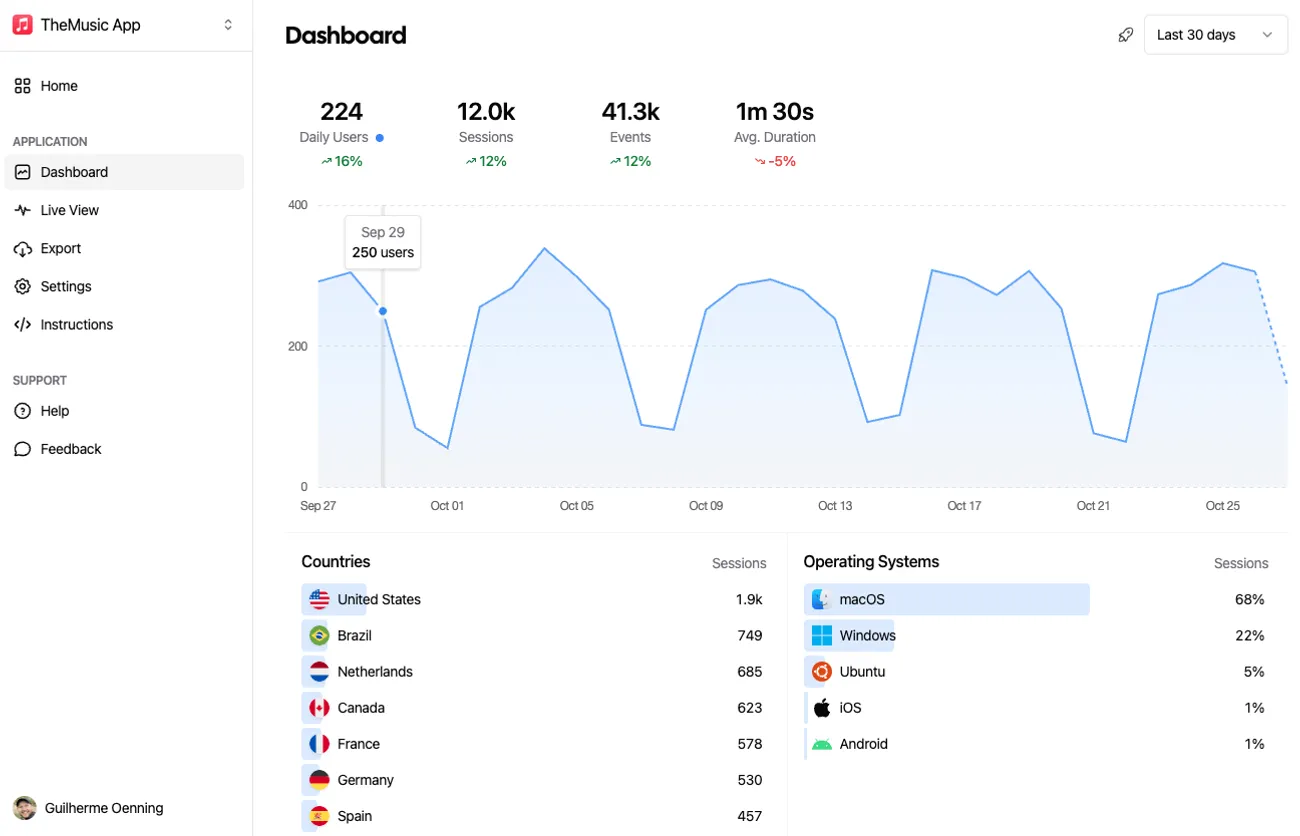
If you check your app in the Aptabase dashboard, you’ll now find your custom events:

Conclusion
At Aptabase, we’re developing an open-source and privacy-centric analytics platform for desktop and mobile apps. Aptabase has SDKs for various frameworks, including .NET MAUI.
If you have any questions or feedback, feel free to reach out on Twitter or join us on Discord and we’ll be happy to help!


